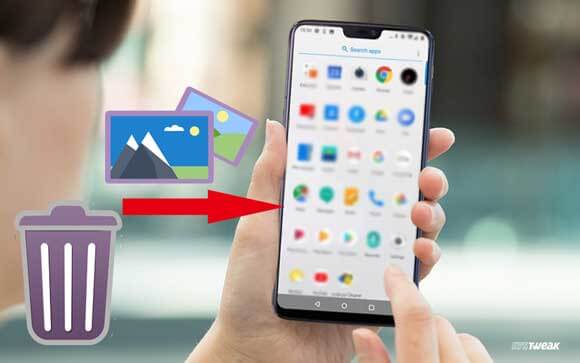
Introduction:
Accidentally deleting precious photos from your Android device can be disheartening. Thankfully, there are apps like DiskDigger that specialize in recovering deleted photos. This simple guide will walk you through the process of installing DiskDigger on your Android device and using it to recover your cherished images.
Step 1: Install DiskDigger from the Google Play Store:
Open the Google Play Store on your Android device. In the search bar, type "DiskDigger" and select the appropriate app from the search results. Tap on the "Install" button to download and install the app on your device. Once the installation is complete, you'll find the DiskDigger app icon in your app drawer.
Step 2: Launch DiskDigger:
Tap on the DiskDigger app icon to launch the application. You'll be greeted with the app's main screen, which provides two options: "Basic Scan" and "Full Scan."
Step 3: Perform a Basic Scan:
The "Basic Scan" option allows you to quickly scan for recently deleted photos. Tap on the "Basic Scan" button, and DiskDigger will start analyzing your device's internal storage and SD card (if available). The app will search for deleted photos and display the results in a list.
Step 4: Recover Deleted Photos:
Once DiskDigger completes the scan, you'll see a list of recovered photos. The photos might be presented in a thumbnail view or a list, depending on your preference. Browse through the list and select the photos you wish to recover. You can tap on individual photos to preview them before making your selection.
Step 5: Choose Recovery Location:
After selecting the desired photos, tap on the "Recover" button. DiskDigger will prompt you to choose a recovery location—either the device's internal storage or an external SD card. Select the appropriate location and confirm your choice. The recovered photos will be saved to the specified location.
Step 6: Full Scan (Optional):
If the basic scan didn't retrieve the specific photos you were looking for, you can try the "Full Scan" option. This in-depth scan may take longer but has a higher chance of recovering older or more deeply buried deleted photos. Tap on the "Full Scan" button, follow the prompts, and DiskDigger will thoroughly search your device's storage.
Step 7: Explore Additional Features:
DiskDigger offers additional features that can enhance your photo recovery experience. For example, you can filter the scan results based on specific file types (e.g., JPEG, PNG) or apply various sorting options. These features can help you locate and recover specific types of photos more efficiently.
Conclusion:
With DiskDigger installed on your Android device, recovering deleted photos becomes a straightforward process. By following the steps outlined in this guide, you can quickly install DiskDigger from the Google Play Store, perform scans to recover deleted photos, and choose the desired recovery location. Remember to act promptly after deleting photos and avoid using your device extensively before running DiskDigger to maximize the chances of successful recovery. With DiskDigger as your ally, you can restore those precious memories that were once thought lost forever.

